Welcome to the Viper 5706V Installation Manual‚ your comprehensive guide to installing and configuring the Viper 5706V remote start and alarm system. This 31-page manual covers essential steps‚ wiring diagrams‚ and troubleshooting tips to ensure a smooth setup. Designed for both novice installers and experienced technicians‚ it provides detailed instructions to maximize your system’s performance and security features.
1.1 Overview of the Viper 5706V System
The Viper 5706V is a advanced remote start and car alarm system designed to enhance vehicle security and convenience. It features keyless entry‚ remote start functionality‚ and robust alarm protection. Compatible with a wide range of vehicles‚ this system offers reliable performance and user-friendly operation. With its comprehensive wiring diagrams and detailed installation guide‚ the Viper 5706V is a popular choice for drivers seeking a high-quality‚ modern car security solution.
1.2 Importance of Following the Installation Manual
Following the Viper 5706V installation manual is crucial for ensuring proper system functionality and vehicle safety. Incorrect installation can lead to malfunctions or security vulnerabilities. The manual provides precise instructions to avoid such issues and ensure optimal performance. Failing to adhere to the guidelines may void the product warranty. By following the manual‚ you guarantee a reliable and efficient setup‚ maximizing the system’s benefits and protecting your investment.
Pre-Installation Requirements and Checklist
Ensure your vehicle is compatible with the Viper 5706V system by checking its make‚ model‚ and year. Prepare your car by disconnecting the battery and gathering necessary tools for a safe installation.
2.1 Vehicle Compatibility and Preparation
Verify your vehicle’s compatibility with the Viper 5706V system by checking its make‚ model‚ and year. Ensure the vehicle is prepared for installation by disconnecting the battery and gathering all necessary tools. Consult the manual for specific compatibility guidelines and safety precautions to avoid any potential damage or electrical issues during the process. Proper preparation ensures a smooth and successful installation of the remote start and alarm system.
2.2 Tools and Materials Needed
Ensure you have the necessary tools and materials before starting the Viper 5706V installation. Essential tools include screwdrivers‚ pliers‚ wire cutters‚ and a multimeter. Required materials are the wiring harness‚ remote controls‚ and installation manual. Additional items like connectors and adhesive may be needed for a secure setup. Familiarize yourself with the components to streamline the process and ensure a successful installation.
Step-by-Step Installation Guide
Follow this guide for a detailed‚ step-by-step walkthrough of installing the Viper 5706V. Start with mounting the control module‚ then connect the wiring harness‚ program the remote‚ and test the system to ensure proper functionality.

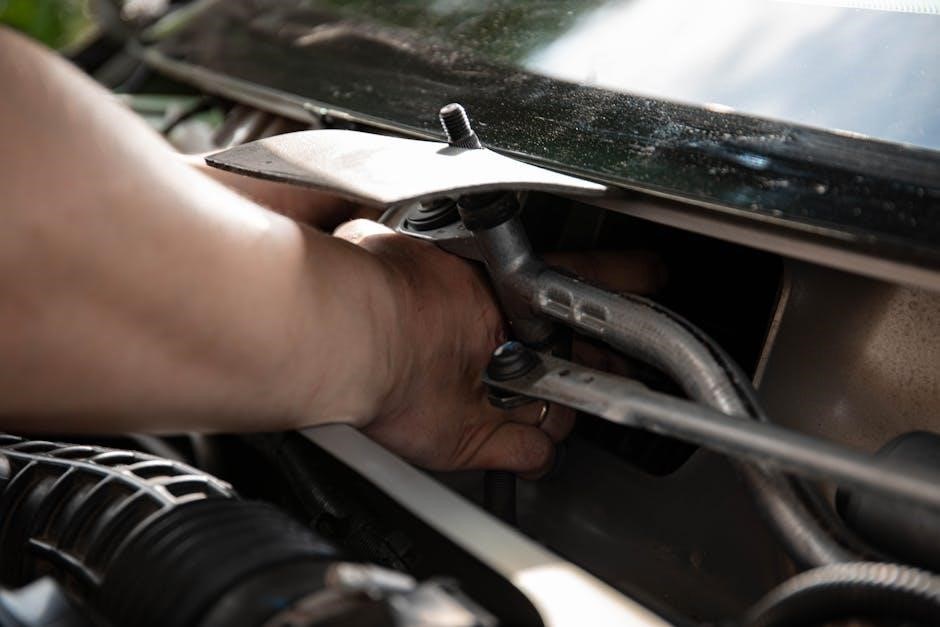
3.1 Mounting the Control Module
Mounting the control module securely is the first step in the installation process. Choose a location that is protected from moisture and extreme temperatures‚ such as under the dashboard. Use screws or adhesive mounts to secure the module firmly in place. Ensure the module is accessible for wiring connections but out of reach from potential tampering. Avoid areas near moving parts or high-temperature components. Connect the wiring harness to the module‚ ensuring all wires are securely attached and properly routed. Double-check connections to prevent system malfunctions. Test the module’s functionality after installation to confirm proper operation before proceeding with additional steps.
3.2 Connecting the Wiring Harness
Connecting the wiring harness is a critical step in the installation process. Begin by identifying the wires using the provided wiring diagram. Connect the power wire to the vehicle’s battery‚ ensuring it is fused for safety. Attach the ground wire to a metallic surface on the chassis. Next‚ connect the ignition‚ accessory‚ and start wires to the corresponding vehicle circuits. Use solder or crimp connectors for secure connections. Double-check all connections to avoid electrical issues. Route the harness neatly‚ securing it with zip ties to prevent interference with moving parts. Ensure all connections are tight and insulated to prevent short circuits. Proper wiring ensures reliable system performance and safety;
3.3 Programming the Remote Start
Programming the remote start involves a series of steps to synchronize the system with your vehicle. Press and release the remote start button‚ then enter the vehicle and turn the ignition to the “ON” position. Press the remote start button again and hold it until the vehicle starts. The system may require up to three crank cycles to learn your vehicle’s starter characteristics. Once complete‚ the remote start function will be fully operational. Ensure all safety features‚ like brake pedal detection‚ are enabled for secure operation; Programming may vary slightly depending on your vehicle’s specific configuration.

Wiring Diagrams and Connections

Refer to the wiring diagrams for proper connections‚ ensuring all cables are securely linked to the vehicle’s electrical system for optimal functionality and safety.
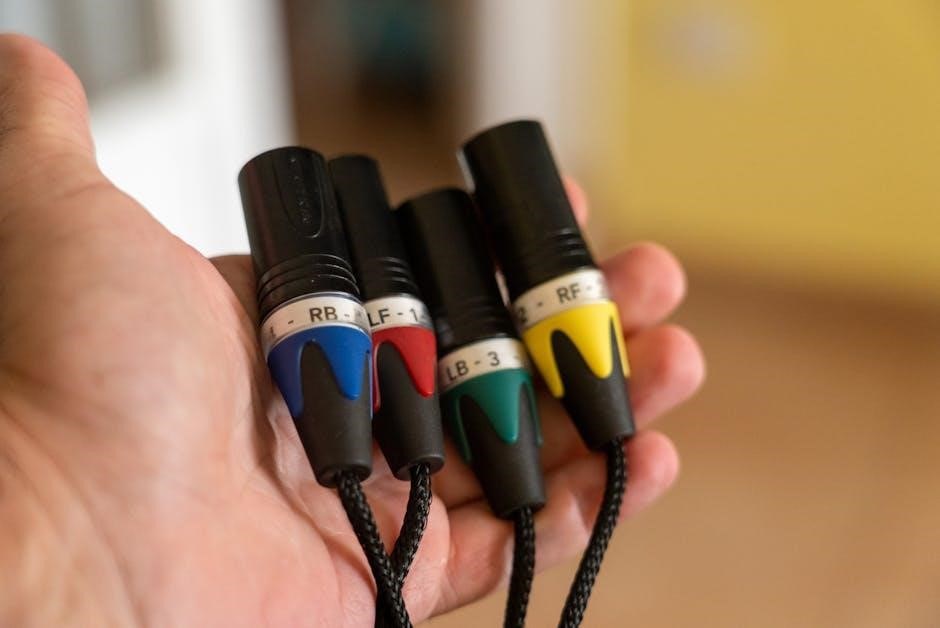
4.1 Understanding the Wiring Harness
The wiring harness is a critical component of the Viper 5706V system‚ connecting the control module to your vehicle’s electrical system. It includes pre-wired cables for power‚ ground‚ ignition‚ and accessories‚ simplifying the installation process. Properly identifying and connecting each wire is essential to ensure functionality and avoid damage to the system or your vehicle.
Consult the wiring diagram in the manual to match each cable to the correct vehicle connector. Ensure all connections are secure and insulated to prevent short circuits or malfunctions during operation.
4.2 Vehicle-Specific Wiring Instructions
Vehicle-specific wiring instructions are crucial for a seamless Viper 5706V installation. Ensure compatibility by referencing your vehicle’s make‚ model‚ and year. The manual provides detailed wiring diagrams for various vehicles‚ including the 2005 Ford F150. Key connections include door locks‚ ignition‚ and alarm outputs. Consult the manual for precise wiring locations and instructions to avoid mismatches. Properly connecting the wiring harness ensures optimal performance and prevents system malfunctions. Always test the system post-installation to confirm functionality.
Remote Start Setup and Configuration
After installation‚ activate the remote start by following the programming sequence in the manual. Open a door‚ set the ignition to RUN‚ and press the remote button to begin setup. Ensure the virtual tach is properly configured for accurate engine detection. Follow the step-by-step guide to complete the configuration and test the remote start functionality to confirm everything works correctly.
5.1 Activating Remote Start Functionality
To activate the remote start‚ open a vehicle door and set the ignition to the RUN position. Press and hold the remote start button for 3 seconds until the LED flashes. Release and press again to confirm. The system will crank the engine‚ and after 3-5 seconds‚ release the button. Test the functionality to ensure proper operation. Refer to the manual for detailed steps and troubleshooting if issues arise. Proper activation ensures reliable remote starting performance. Follow the sequence precisely for optimal results. Always consult the guide for specific instructions.
5.2 Setting Up Virtual Tach
Virtual Tach setup is essential for vehicles without a tachometer. After completing the remote start installation‚ remote start the engine. Press and hold the remote start button until the LED flashes. Release‚ then press and hold again for 3 seconds. The system will learn the tach signal automatically. Ensure the vehicle’s ignition is in the RUN position during setup. Refer to the manual for detailed instructions and troubleshooting tips to ensure proper configuration. Proper setup guarantees reliable remote start functionality for your vehicle. Follow the sequence carefully for accurate results.
Security Features and Alarm System
The Viper 5706V offers advanced security features‚ including a high-sensitivity shock sensor and 120dB siren for reliable vehicle protection. Its keyless entry and alarm system ensure ease of use and peace of mind.
6.1 Configuring the Alarm System
Configuring the Viper 5706V alarm system involves enabling keyless entry‚ setting up shock sensors‚ and adjusting siren settings. Use the remote to program sensitivity levels and arming delays. Ensure the system is tested after installation to verify proper functionality. Refer to the manual for default codes and customization options. Proper configuration ensures reliable security and ease of use. Always test the alarm after setup to confirm it triggers correctly during unauthorized access or disturbances.
6.2 Keyless Entry Setup
Configuring keyless entry for the Viper 5706V involves programming the remote control to synchronize with the system. Follow the manual’s instructions to ensure proper pairing. Open a vehicle door‚ turn the ignition to the “RUN” position‚ and press the remote button as instructed. Test the system to confirm seamless operation. This feature enhances convenience and security‚ allowing easy access to your vehicle while maintaining its protection. Proper setup ensures reliable performance and integrates smoothly with the alarm system for enhanced security.

Troubleshooting Common Issues
Common issues with the Viper 5706V include remote start malfunctions and alarm trigger problems. Consult the manual for diagnostic steps and solutions to ensure proper system functionality and resolve issues promptly.
7.1 Solving Remote Start Problems
Remote start issues with the Viper 5706V often arise from wiring or programming errors; Ensure the ignition is in the “RUN” position and doors are closed. Check the remote battery and antenna connection. If the engine doesn’t start‚ verify the Virtual Tach setup and crank time. Programming may require up to three crank cycles for the system to learn the tach signal. Consult the manual for detailed troubleshooting steps to resolve remote start functionality problems effectively.
7.2 Fixing Alarm Malfunctions
If the Viper 5706V alarm is not functioning correctly‚ check the wiring connections and ensure all sensors are properly aligned. Verify that the system is programmed correctly‚ especially the shock sensor sensitivity. Review the installation manual for specific troubleshooting steps. If issues persist‚ reset the system by disconnecting the battery and reconnecting it. Test the alarm functionality thoroughly after any adjustments to ensure reliable performance and security for your vehicle.
User Reviews and Feedback
Users praise the Viper 5706V for its reliability and ease of use. Many highlight its effectiveness as a car alarm‚ noting it surpasses previous systems in performance and features.
8.1 Real-World Experiences with the Viper 5706V
Owners of vehicles equipped with the Viper 5706V report high satisfaction‚ emphasizing its reliability and ease of use. A Ford F-150 owner praised its seamless integration‚ while a Camaro z28 user highlighted its superior performance compared to previous systems. Many users appreciate the detailed installation manual‚ which simplifies the setup process. The system’s remote start and alarm features have proven effective in enhancing vehicle security and convenience‚ making it a top choice for car enthusiasts seeking advanced protection and functionality.
8.2 Tips from Experienced Users
Experienced users recommend carefully following the Viper 5706V installation manual to ensure a smooth setup. For programming the Virtual Tach‚ they suggest starting with a fully charged battery and allowing the system to learn the ignition pattern. Troubleshooting common issues like remote start problems often involves checking wiring connections and ensuring proper synchronization. Seasoned installers also advise testing each feature incrementally to identify and resolve any issues early. These tips enhance the overall performance and reliability of the Viper 5706V system.