The LiftMaster 375UT manual provides comprehensive guidance for homeowners, covering system overview, essential components, and basic operation. It explains the unit’s design, connectivity options, and user-friendly features, ensuring efficient and reliable garage door control for daily use;

Key Features and Specifications
The LiftMaster 375UT boasts a robust 1/2 HP DC motor delivering quiet, reliable performance for standard residential garage doors up to seven feet high. It features Security+ 2.0 rolling code technology, significantly reducing unauthorized access by generating new codes with every remote click. Built-in Wi-Fi enables seamless MyQ smartphone integration, allowing users to monitor and control the door from anywhere using the dedicated app. A battery backup system ensures continuous operation during power outages, providing peace of mind during storms. The unit includes two three-button remote controls, a wireless keypad, and a motion-detecting control panel for added convenience. Safety reversing sensors utilize infrared beams to prevent closure on obstructions, protecting people and pets. Integrated LED corner-to-corner lighting illuminates the garage with 1,200 lumens, enhancing visibility. The durable steel rail system uses a chain drive for strength. Specifications include a 120V AC input, operating temperatures ranging from -4°F to 104°F, and a limited lifetime motor warranty with a five-year parts warranty. The compact design minimizes ceiling space requirements while maintaining industrial-grade durability. Installation hardware and detailed instructions are packaged inside for immediate setup. Compatible with HomeLink vehicle systems.

Safety Precautions Before Use
Before operating the LiftMaster 375UT, ensure all safety guidelines are followed. Disconnect the power supply and verify the circuit breaker is off to prevent accidental activation. Inspect the door tracks and rollers for debris or damage; clear any obstructions to avoid binding. Confirm that the safety sensors are properly aligned and unobstructed, as misalignment can trigger false reversals. Verify that the remote control batteries are fresh and the key fob is programmed correctly. Test the manual release cord by pulling it to ensure the door can be lowered safely. Keep children and pets away from the garage area during operation. Read the manufacturer’s warning labels and adhere to the specified operating temperature range. Use only the supplied wiring harnesses and connectors; do not substitute aftermarket parts. Maintain a clear path around the door frame to allow full travel. Store the remote controls in a dry place to prevent moisture damage. Follow all local building codes and regulations regarding garage door installation and operation. Finally, schedule a professional inspection after installation to confirm proper setup and safety compliance. Always keep the manual within reach for quick reference today.
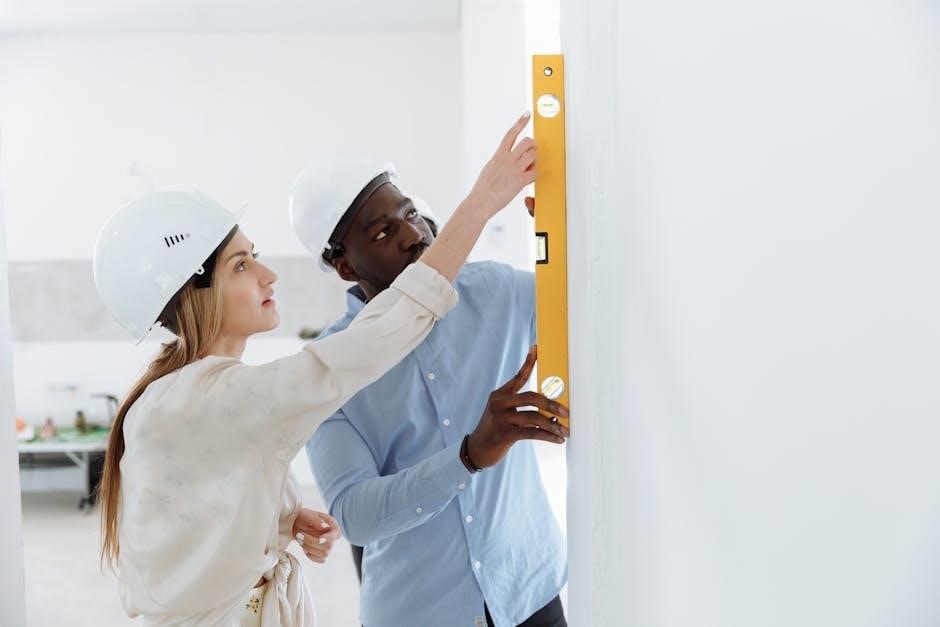
Installation Guide
Mount brackets, attach motor, connect wiring, program remote, test operation, secure sensors, ensure grounding, verify door balance, double-check connections, inspect for wear, calibrate sensors, confirm safety features, then power up before finalizing, ensure all components function properly.
Step-by-Step Installation Process
- Begin by gathering required tools: drill, screwdriver set, level, measuring tape, ladder, and glasses.
- Remove any existing opener components, ensuring the door is fully closed and power is disconnected.
- Locate the garage ceiling’s centerline and mark bracket mounting points per the diagram.
- Drill pilot holes into joists, then secure brackets with supplied lag bolts, tightening firmly. Use a level to verify bracket alignment, adjusting as necessary to maintain a straight axis for optimal performance today.
- Attach the motor unit to the brackets, aligning the shaft with the door’s torsion spring.
- Connect the drive arm to the motor’s sprocket, ensuring the chain or belt is taut but not overly tight.
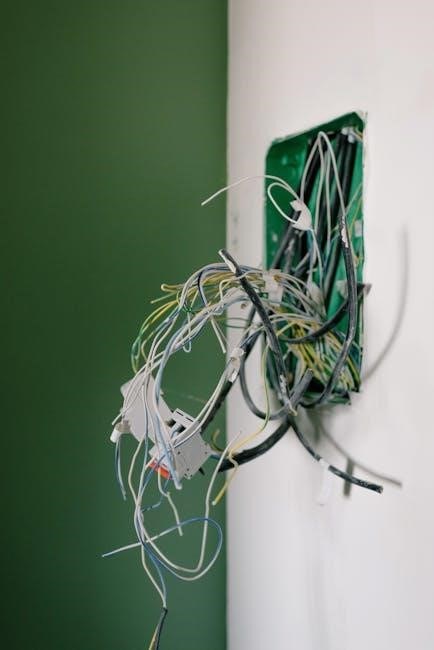
- Route the power cable through the conduit, connect it to the terminal block, and verify polarity.
- Install sensors on either side of the door, mounting them at the recommended height and aligning lenses precisely.
- Feed sensor wires back to the control board, securing with zip ties.
- Program remote controls via on‑screen prompts, then test the opener through several cycles to confirm smooth operation.
- Finally, tighten all fasteners, replace protective covers, and record the installation date for future reference.

Operating the 375UT System
The LiftMaster 375UT operates via wall console, remote, or smartphone app, offering smooth opening, closing, and stop functions; simply press the button, verify sensor alignment, and monitor status lights for safe, reliable performance daily operation confidence today.
Manual Operation Procedures
The LiftMaster 375UT manual operation involves a series of straightforward steps designed for user convenience and safety. Begin by ensuring the garage door is properly aligned and that all safety sensors are free of obstructions. Power the unit by connecting the main supply to the designated circuit breaker, then verify that the indicator lights illuminate correctly. To manually open the door, press the “Open” button on the wall console for a brief moment; the door will begin to lift, and the system’s built‑in sensors will automatically detect any obstacles, stopping the movement if necessary. For manual closing, press the “Close” button, allowing the door to descend until it reaches the bottom of its travel range. If the door stalls or does not respond, double‑check the wiring connections and confirm that the remote control’s battery is functional. In emergencies, the release cord allows manual override to ensure safety today daily. Finally, after each operation, inspect the door’s rollers, hinges, and tracks for wear, and clean any debris that may impede smooth movement. Following these procedures ensures reliable performance and extends the lifespan of the LiftMaster 375UT system.

Common Troubleshooting Scenarios
Common issues include unresponsive remotes, doors reversing unexpectedly, motor humming without movement, flashing indicator lights, and keypad entry failures. Check power sources, sensor alignment, battery status, and track obstructions before contacting professional support services for immediate resolution.
Intermittent Operation Issues
Intermittent operation issues often stem from loose connections, fluctuating power supply, or sensor misalignment. Begin by inspecting the main power cord for cracks or frayed insulation, ensuring a secure connection to the breaker panel. Verify that the garage door’s battery backup, if installed, holds charge; replace batteries when voltage drops below recommended thresholds. Check the door’s limit switches; misadjusted switches can cause the motor to stop prematurely, leading to sporadic operation. Clean the sensor lenses and align them so that the infrared beam remains unobstructed. Inspect the door tracks for debris or bent rails, as these can intermittently impede movement. Examine the motor’s bearings for wear; lubricate with manufacturer‑approved grease to reduce friction. Ensure that the remote transmitter’s firmware is up to date, as outdated code may conflict with the central unit. Test the system with a known working remote; if the issue persists, reset the unit by disconnecting power for 30 seconds and reconnecting. Finally, review the system’s event log for error codes that indicate specific faults, and consult the troubleshooting guide for precise corrective actions. Regular maintenance schedules help preempt future disruptions and ensure operation.

Routine Maintenance Tips
Regularly inspect hardware, tighten bolts, test safety reversal, check battery backup, and verify remote functionality. Schedule professional service annually to ensure optimal performance and extend the lifespan of your garage door opener system reliably every season smoothly.
Cleaning and Lubrication
Proper cleaning and lubrication are vital for the smooth operation and longevity of your LiftMaster 375UT garage door opener; Begin by disconnecting power to the unit to prevent accidental activation during maintenance. Use a soft, dry cloth to gently wipe the photoelectric safety sensors located near the floor on both sides of the door opening; dust or cobwebs here can cause reversal issues. Next, inspect the door tracks for debris, leaves, or hardened grease buildup, cleaning them with a damp cloth and mild detergent if necessary, then dry thoroughly. Do not lubricate the tracks themselves, as this attracts dirt. Instead, apply a high-quality silicone-based spray or white lithium grease to the rollers, hinges, bearing plates, and springs. For chain drive models, lubricate the chain rail; for screw drive models, apply lubricant along the screw threads. Operate the door several times to distribute the lubricant evenly. Wipe away excess drips to prevent staining the floor. Perform this routine every six months or whenever operation becomes noisy or sluggish for best results. Always consult the owner’s manual for specific lubricant recommendations and safety warnings before starting any maintenance procedure. Regular attention prevents costly repairs and ensures quiet, reliable performance throughout the year.

Advanced Troubleshooting
Advanced troubleshooting addresses complex operational failures requiring technical diagnostics. This section covers logic board analysis, motor circuit testing, and radio frequency interference resolution. Professional service is recommended for internal component repairs ensuring safety compliance and optimal functionality.
Resetting the System
Resetting the LiftMaster 375UT resolves persistent errors, clears stored codes, and restores factory defaults. Begin by disconnecting power to the opener unit for approximately thirty seconds; this power cycle often clears temporary logic faults. If issues persist, locate the Learn button on the motor head. Press and hold this button for six seconds until the LED indicator turns off, erasing all remote control and keyless entry codes from memory. The system confirms deletion via a flashing light sequence. After clearing memory, you must reprogram all accessories. Press the Learn button briefly; the indicator will glow steadily for thirty seconds. During this window, press the desired button on each remote control. The opener lights will flash or click to confirm successful pairing. Repeat for every device. For MyQ connectivity issues, reset the Wi-Fi module separately by holding its specific button until the LED blinks rapidly. Always test the safety reversal system after any reset procedure to ensure compliance with federal safety standards. Document the date and reason for reset in your maintenance log for future reference. Ensure the garage door is fully closed before initiating the reset process.
Firmware Update Procedure
The firmware update procedure for the LiftMaster 375UT ensures optimal performance, security, and compatibility with the latest MyQ features. Before beginning, verify that the garage door is fully closed and that the opener is powered from a stable electrical source. Open the MyQ app on a smartphone, sign in, and navigate to the device list. Select the 375UT unit; if a firmware notification appears, tap the Update button. The app will prompt you to place the opener in programming mode by pressing the Learn button on the motor housing for one second. Once the LED blinks, confirm the prompt in the app to start the download. The update file, typically a few megabytes, transfers over the Wi‑Fi connection; maintain a signal and avoid interrupting power. During the transfer, the opener may emit a clicking sound; do not operate the door until the process completes. After installation, the LED will flash green three times and the app will display a confirmation message. Finally, test remote controls and the MyQ interface to ensure all functions respond correctly. Record the firmware version and date in your maintenance log for reference.
Frequently Asked Questions (FAQ)
- How do I reset the 375UT? Use the reset button on the motor housing for 10 seconds.
- Can I pair the unit with a smartphone? Yes, via the MyQ app; ensure Wi‑Fi is active.
- What should I do if the door stalls? Check for obstructions, inspect springs, and verify sensor alignment.
- Is a battery backup required? Optional; a 12‑V battery can keep the unit online during outages.
- How often should I update firmware? Whenever a new version appears in the app, update promptly.
- Can I use a remote from another brand? No, only LiftMaster remotes are compatible.
- What safety features are built in? The unit includes photoelectric sensors, auto‑reverse, and a manual override button.
- How do I troubleshoot intermittent operation? Verify wiring, test the power supply, and run a diagnostic via the app.
- Where can I find support? Contact LiftMaster customer service or visit the official website for manuals and FAQs.
- How do I install a new sensor? First, locate the sensor housing on each side of the door. Align the sensor with the receiver, ensuring the LED lights up. Tighten screws, test door movement, if necessary.