Welcome to our comprehensive Zone 7b Planting Guide, designed to help gardeners thrive in USDA Hardiness Zone 7b․ This guide provides essential insights into planting, growing, and caring for a wide variety of plants tailored to Zone 7b’s unique climate and growing season․ Whether you’re a seasoned gardener or just starting out, this resource will empower you to make informed decisions and achieve a flourishing garden year-round․
Overview of USDA Hardiness Zone 7b
USDA Hardiness Zone 7b is characterized by mild winters, with average annual minimum temperatures ranging from 5°F to 10°F (-15°C to -12․2°C)․ This zone offers a relatively long growing season, making it ideal for a wide variety of plants․ The last frost date is typically April 15th, and the first frost date is around November 15th, providing gardeners with approximately seven months to grow and harvest․ Zone 7b supports both cool-season and warm-season crops, as well as perennials and shrubs adapted to its climate․
Importance of Understanding Your Planting Zone
Understanding your planting zone is crucial for successful gardening․ It helps determine which plants can survive local temperatures and thrive in your area․ Zone 7b’s specific climate conditions guide planting times, ensuring optimal growth and yield․ By knowing the first and last frost dates, gardeners can avoid planting too early or too late, reducing crop failure․ This knowledge also aids in selecting appropriate plant varieties, maximizing the growing season, and achieving a productive and vibrant garden․ Accurate planning fosters better results and minimizes wasted efforts, making it essential for gardeners of all levels․
Understanding Zone 7b Climate and Growing Season
Zone 7b is characterized by mild winters and a long growing season, with the last frost date around April 15th and the first frost date on November 15th, offering seven months of optimal growing conditions․ This zone covers regions with average winter temperatures between 5°F and 10°F, providing ideal conditions for a wide variety of plants and crops, making it a favorable area for gardening enthusiasts․
Last Frost Date and First Frost Date
In USDA Hardiness Zone 7b, the average last frost date is April 15th, while the first frost date occurs around November 15th․ These dates are crucial for determining when to plant tender seedlings and crops․ Gardeners should wait until after April 15th to plant sensitive plants outdoors and prepare for potential frost by November 15th․ This seven-month growing window allows for a wide variety of vegetables, flowers, and herbs to thrive in Zone 7b’s mild climate․
Length of the Growing Season
The growing season in USDA Hardiness Zone 7b lasts approximately 7 months, from the last frost date on April 15th to the first frost date on November 15th․ This extended period allows gardeners to grow a wide variety of crops, including cool-season and warm-season plants․ The relatively long growing season makes Zone 7b ideal for multiple harvests and diverse gardening opportunities, providing ample time for both spring and fall plantings to mature successfully․
Temperature Ranges and Their Impact on Planting
Zone 7b experiences a moderate climate with winter temperatures ranging from 5°F to 10°F (-15°C to -12․2°C)․ These temperature ranges significantly influence planting decisions, as they determine which plants can thrive․ Understanding the temperature patterns helps gardeners avoid frost damage and optimize growing conditions․ Warmer summers and mild winters allow for a diverse range of plants, but careful timing is essential to ensure proper germination and growth throughout the season․
Monthly Planting Schedule for Zone 7b
A monthly planting schedule for Zone 7b helps gardeners optimize growth by aligning planting times with seasonal conditions․ This guide covers spring, summer, fall, and winter planting, ensuring optimal results for vegetables, flowers, and more throughout the year․
Spring Planting (March to May)

Spring in Zone 7b is ideal for planting a variety of crops․ Start cool-season crops like spinach, lettuce, and peas in early March․ Warm-season crops such as tomatoes, peppers, and zucchini can be direct-sown after the last frost date, typically around April 15th․ Consider starting seeds indoors 4-6 weeks before the last frost for a head start․ Bulbs and perennials can also be planted as the soil thaws․ This period offers ample opportunities to diversify your garden and enjoy a bountiful harvest․
Summer Planting (June to August)
Zone 7b’s warm summers are perfect for planting heat-tolerant crops․ Direct-sow vegetables like tomatoes, peppers, zucchini, and okra in June․ Herbs such as basil and cilantro thrive in summer’s warmth․ Plant sunflowers and corn in well-draining soil․ Mulch around plants to retain moisture and suppress weeds․ Consider companion planting to deter pests․ Summer is also ideal for planting perennials and annuals like marigolds and zinnias․ Keep soil consistently moist and provide shade for sensitive plants during extreme heat․
Fall Planting (September to November)
Fall planting in Zone 7b offers a second chance to grow delicious crops․ Start by planting cool-season vegetables like broccoli, spinach, and kale in early September․ Garlic and onions are also ideal for fall, as they mature over winter․ Ensure soil is well-prepared with compost for healthy growth․ Plant about 8 weeks before the first frost date (November 15th) to allow crops to mature․ Proper spacing and consistent watering are key for a bountiful harvest․ This period is perfect for preparing the garden for spring as well․
Winter Planting (December to February)
Winter planting in Zone 7b is limited but still possible․ Cool-season crops like spinach and kale can thrive if protected from extreme cold․ Plant bulbs like tulips and daffodils during this period for spring blooms․ Garlic is another excellent choice, planted in late winter for a summer harvest․ Ensure soil is well-draining and add mulch for insulation․ While frost is a factor, Zone 7b’s mild winters allow for some winter gardening with proper care and protection․
Choosing the Right Plants for Zone 7b
Selecting plants suited to Zone 7b ensures optimal growth and resilience․ Opt for drought-tolerant varieties, native species, and a mix of annuals and perennials to maximize success․
Annuals and Perennials Suitable for Zone 7b
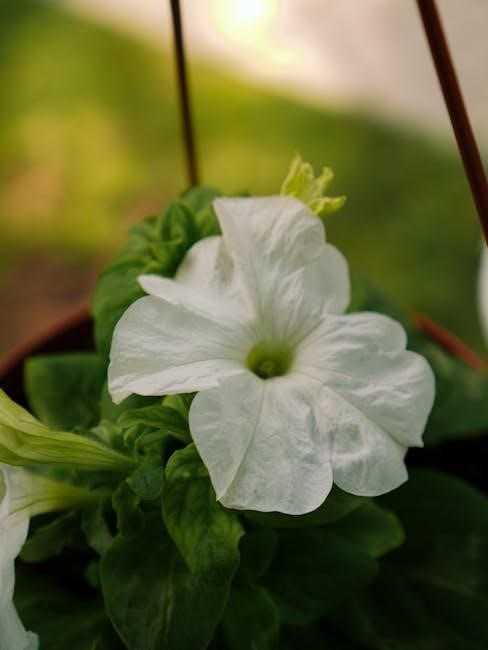
Zone 7b offers ideal conditions for a diverse range of annuals and perennials․ Annuals like marigolds, zinnias, and petunias thrive in its warm summers, while perennials such as coneflowers, black-eyed Susans, and daylilies provide lasting beauty․ Drought-tolerant varieties like lantana and sedum are excellent choices, and flowering bulbs such as daffodils and tulips bloom vibrantly in spring․ Incorporating native plants ensures adaptability to the local climate, attracting pollinators and enhancing garden resilience year-round․
Vegetables, Fruits, and Herbs for Zone 7b
Zone 7b’s long growing season supports a wide variety of vegetables, fruits, and herbs․ Tomatoes, peppers, and squash thrive in its warm summers, while cool-season crops like spinach, carrots, and broccoli excel in spring and fall․ Strawberries and blueberries are excellent fruit choices, and herbs like basil, rosemary, and cilantro grow abundantly․ Leveraging the zone’s mild winters, gardeners can also enjoy extended harvests of kale, spinach, and root vegetables, making it a versatile region for diverse gardening interests․
Soil Preparation and Care in Zone 7b
Zone 7b’s soil thrives with proper preparation․ Test pH levels, amend with compost or fertilizers, and mulch to retain moisture and suppress weeds for optimal plant growth․
Soil Types and pH Requirements
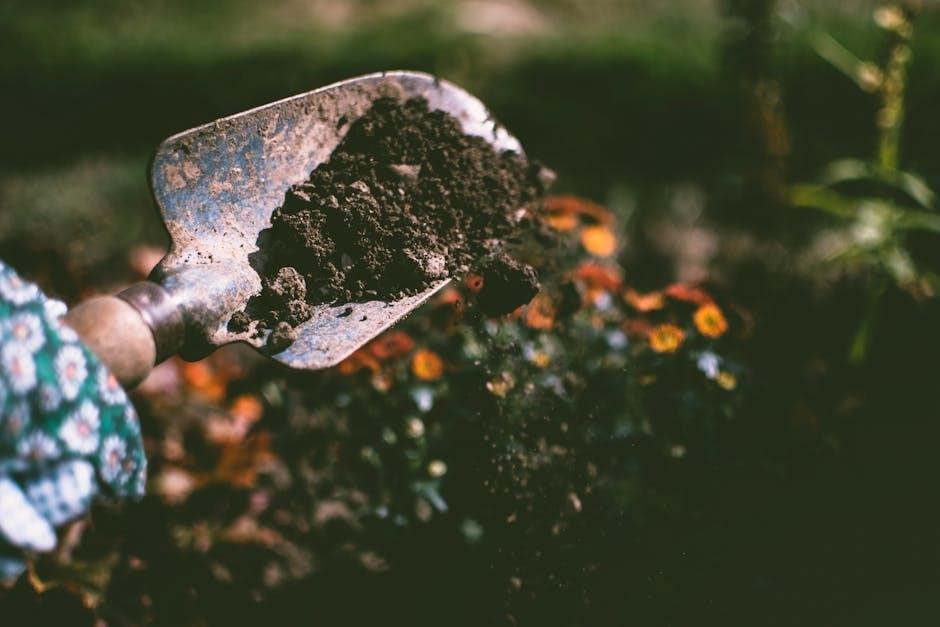
In Zone 7b, common soil types include clay, loam, and sand․ Most plants thrive in slightly acidic to neutral soil, with a pH range of 6․0 to 7․0․ Testing your soil type and pH is crucial for determining necessary amendments․ Adding organic matter like compost can improve soil structure and fertility․ Balancing pH levels ensures optimal nutrient absorption, promoting healthy plant growth․ Regular soil testing and adjustments are key to maintaining a productive garden in Zone 7b․
Fertilization and Mulching Tips
Fertilization and mulching are essential for optimizing plant growth in Zone 7b․ Use balanced fertilizers (10-10-10) during planting and side-dress with compost tea or well-rotted manure mid-season․ Mulch retains moisture, suppresses weeds, and regulates soil temperature․ Apply 2-3 inches of organic mulch like straw or bark chips around plants․ Replenish mulch annually and avoid over-mulching to prevent root rot․ These practices enhance soil health and promote vigorous plant development throughout the growing season in Zone 7b gardens․
Watering Strategies for Zone 7b
Watering in Zone 7b requires balancing to accommodate its warm summers and mild winters․ Water plants deeply once or twice a week, depending on rainfall, to encourage deep root growth․ Avoid overwatering, which can lead to root rot․ Mulch around plants to retain soil moisture and reduce evaporation․ Use drip irrigation or soaker hoses for efficient watering․ Check soil moisture by digging a small hole nearby․ Proper drainage is crucial to prevent waterlogged soil, ensuring healthy plant growth in Zone 7b gardens․
Starting Seeds Indoors and Transplanting
Starting seeds indoors 4-6 weeks before the last frost date in Zone 7b ensures a head start on the growing season․ Use seed trays or small pots with well-draining soil․ Provide adequate light and maintain consistent temperatures․ Harden off seedlings before transplanting outdoors to prevent shock․ This method promotes healthy growth and maximizes the growing season in Zone 7b gardens․ Proper timing is key for successful transplantation and optimal results․
When to Start Seeds Indoors
In Zone 7b, seeds should be started indoors 4-6 weeks before the last frost date, typically around late February to early March․ This allows sufficient time for germination and growth before transplanting․ Use seed trays or small pots with well-draining soil, maintaining consistent temperatures between 65-75°F for optimal germination․ Ensure adequate light, either through grow lights or sunny windows․ Proper moisture and care during this phase ensure healthy seedlings ready for outdoor planting after the last frost date in mid-April․
Best Practices for Transplanting
Transplanting in Zone 7b requires careful planning to ensure plant success․ Harden off seedlings for 7-10 days before moving them outdoors․ Transplant in the early morning or late afternoon to avoid stress․ Dig carefully to preserve root systems and replant at the same depth․ Water thoroughly and mulch around plants to retain moisture and regulate soil temperature․ Avoid transplanting during extreme weather conditions, such as intense heat or heavy rain, to minimize shock and promote healthy establishment․
USDA Plant Hardiness Zone Map
The USDA Plant Hardiness Zone Map is a standard guide for determining plant hardiness, based on average winter temperatures, helping gardeners in Zone 7b choose suitable plants that thrive in their area․
How the USDA Zone Map Works
The USDA Plant Hardiness Zone Map divides North America into 13 zones based on average annual extreme winter temperatures․ Each zone represents a 10°F difference, with half-zones for finer precision․ Zone 7b, for example, has minimum winter temperatures between 5°F and 10°F․ This system helps gardeners and growers determine which plants are most likely to thrive in their specific area, ensuring optimal growth and survival․ It serves as a critical reference for plant selection and gardening success․
Recent Changes in Zone 7b Designations
Recent updates to the USDA Plant Hardiness Zone Map reflect shifts in climate conditions, with some areas moving from Zone 7a to 7b․ For instance, regions like Londons in Arkansas and parts of Cape Cod now fall under Zone 7b, indicating slightly warmer winter temperatures․ These changes are based on updated temperature data and help gardeners better understand plant hardiness in their specific areas․ Always consult the latest USDA map for accurate zone designations before planting․
Common Mistakes to Avoid in Zone 7b
Avoid planting too early or late, as this can expose plants to unfavorable temperatures․ Ignoring microclimates and local weather patterns is another common error․ Always consider soil specific to your area for optimal growth․
Planting Too Early or Too Late
Planting too early or late can significantly impact growth and yield in Zone 7b․ The last frost date is April 15th, and the first frost date is November 15th․ Planting tender crops before this window exposes them to frost damage, while delaying planting beyond optimal times reduces the growing season․ Always check specific seed or plant requirements and align them with Zone 7b’s climate․ Starting seeds indoors and transplanting at the right time ensures healthy growth․ Avoid assumptions based on neighboring zones, as microclimates vary widely․
Ignoring Microclimates
Ignoring microclimates in Zone 7b can lead to planting failures, as local conditions vary significantly․ Microclimates, such as urban heat islands or shaded areas, affect temperature and moisture․ Planting without considering these factors can result in poor growth or early plant death․ For example, a garden in a low-lying area may experience colder temperatures than one on a slope․ Always assess your specific microclimate to optimize planting success and adapt strategies for your unique environment․ Local observations are key to thriving in Zone 7b gardens․ This ensures plants are well-suited to their specific growing conditions․ By understanding microclimates, gardeners can better align planting times and plant selection with their site’s unique characteristics, maximizing growth and productivity․ This tailored approach helps avoid common mistakes and enhances overall gardening success in Zone 7b․ Additionally, microclimates can influence frost dates and soil moisture, further highlighting the importance of localized planning․ Experimentation and adaptation are encouraged to refine your gardening practices․ This attention to detail will lead to healthier plants and a more resilient garden․
Zone 7b offers a versatile climate for gardening․ By understanding frost dates, soil preparation, and plant selection, gardeners can thrive year-round․ Experimentation and adaptation are key to success, ensuring a vibrant and productive garden tailored to your unique conditions․ Happy gardening in Zone 7b!
Start seeds indoors 4-6 weeks before the last frost date, which is April 15th for Zone 7b․ Plant warm-season crops after this date and cool-season crops 8-10 weeks before the first frost on November 15th․ Choose plants suitable for Zone 7b, ensuring they thrive in its mild winters and long growing season․ Maintain well-prepared soil with proper pH and fertilization․ Water consistently, considering temperature fluctuations․ Monitor microclimates and adjust planting schedules accordingly for optimal growth․
Encouragement to Experiment and Adapt
Embrace the flexibility of Zone 7b by experimenting with new plants and techniques․ Start seeds indoors to extend the growing season and adapt to weather changes․ Keep a gardening journal to track successes and challenges, refining your strategies each year․ Stay flexible with planting schedules and explore new varieties or methods to maximize your garden’s potential․ Remember, gardening is a journey of discovery—enjoy the process and learn as you grow!